Adding Videos
Linking to YouTube
Step 1
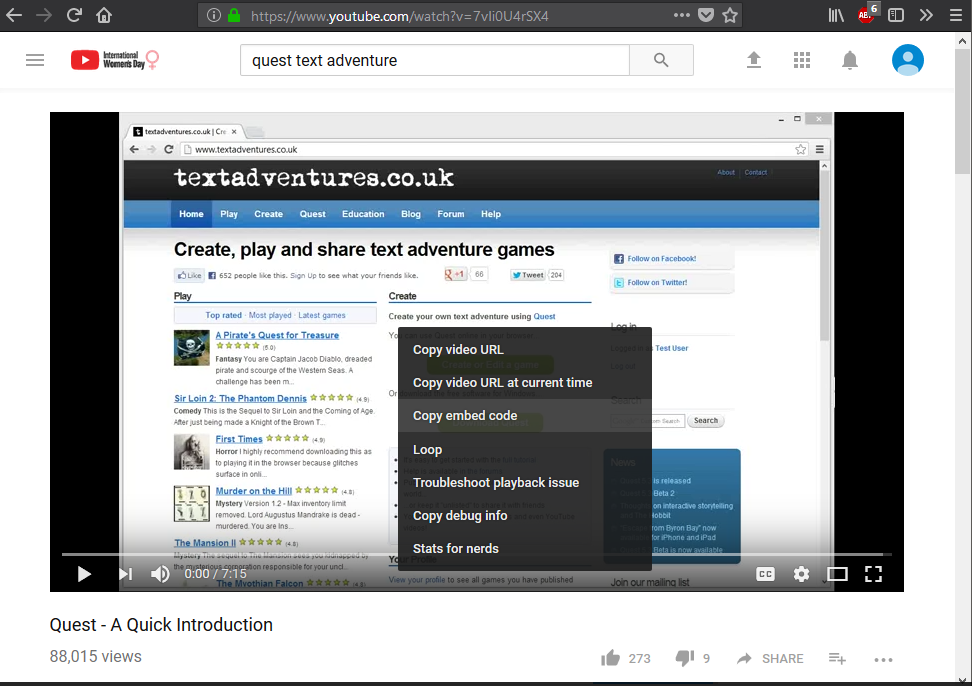
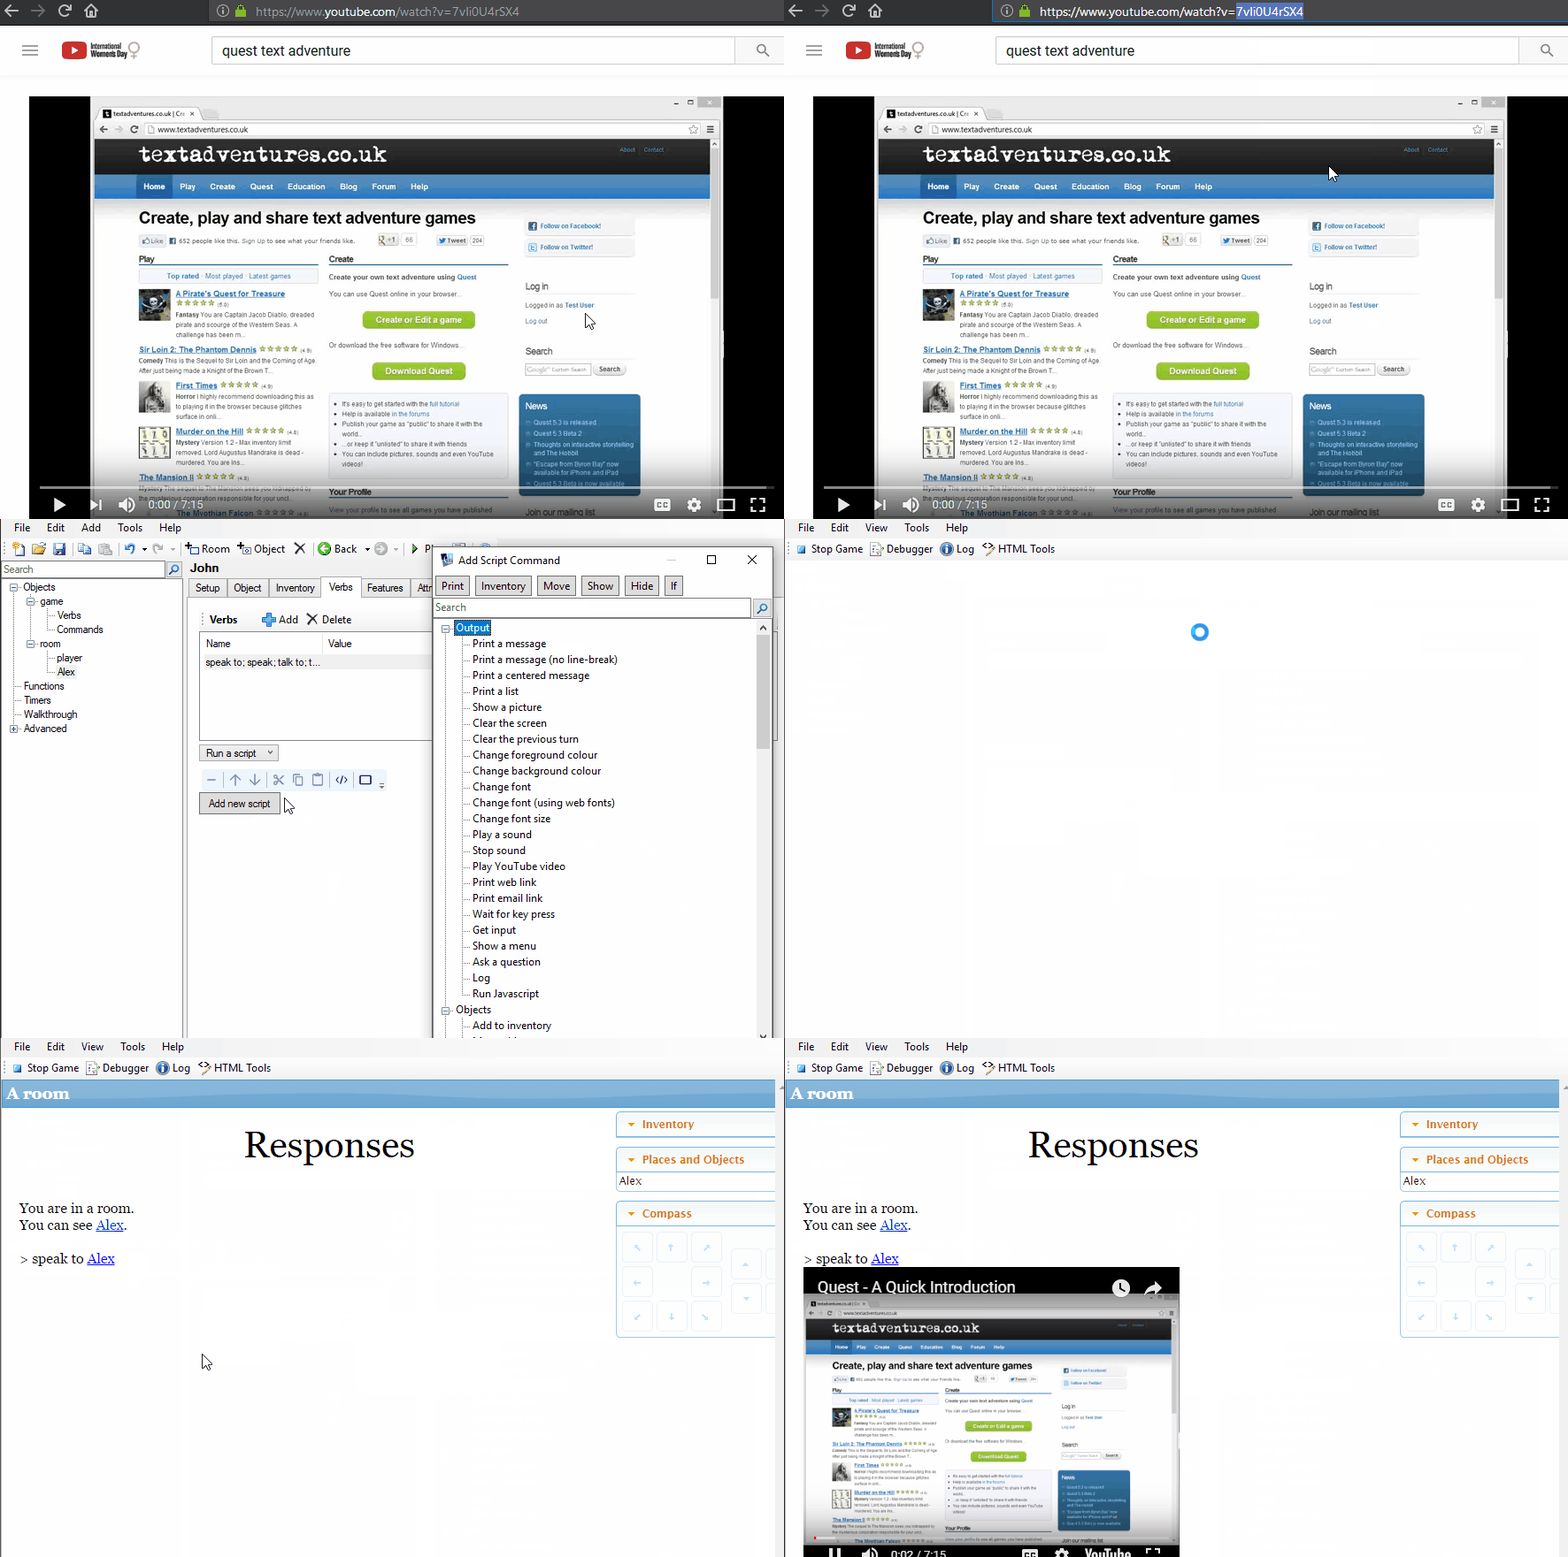
Copy the video’s ID from YouTube.
Step 2
Paste the ID into the “Play YouTube video” script.
Adjusting the Width of the Video
Quest adds an iframe to the HTML which contains the video.
To be able to control or modify this, we need to use Javascript.
Assuming the last iframe added is the one we’re looking for, we can assign a variable to it (this is a safe assumption, as we are writing the code).
Create a function named: SetLastIframeID
Add the parameter: id
Paste this code into the script in code view:
// Find all the iframes
js = "var iframes = document.getElementsByTagName('iframe');"
// Find the last iframe, and call it "lastIframe"
js = js + "var lastIframe = iframes[iframes.length-1];"
js = js + "lastIframe.id = '"+id+"'"
JS.eval(js)
Now we can give it an ID to manipulate it.
SetLastIframeID ("my-video")
To set the width to 100%:
JS.eval("$('#my-video').width('100%');")
To hide the video, allowing any audio to continue:
JS.uiHide("#my-video")
To show it again:
JS.uiShow("#my-video")
To remove the video entirely:
JS.eval("$('#my-video').remove();")
To print the video’s source to the HTML tools console log:
JS.eval("console.log($('#my-video').attr('src'));")
In this example, this what we see when checking the console in HTML tools:
https://www.youtube.com/embed/7vIi0U4rSX4?autoplay=1&rel=0
Changing the video source
To change the video by changing the iframe’s src, let’s create another function.
Create a new function, naming it ChangeVideoSrc. Give it the parameters: id, src. Paste this into the script in code view:
js = "$('#"+id+"').attr('src', '"+src+"');"
JS.eval(js)
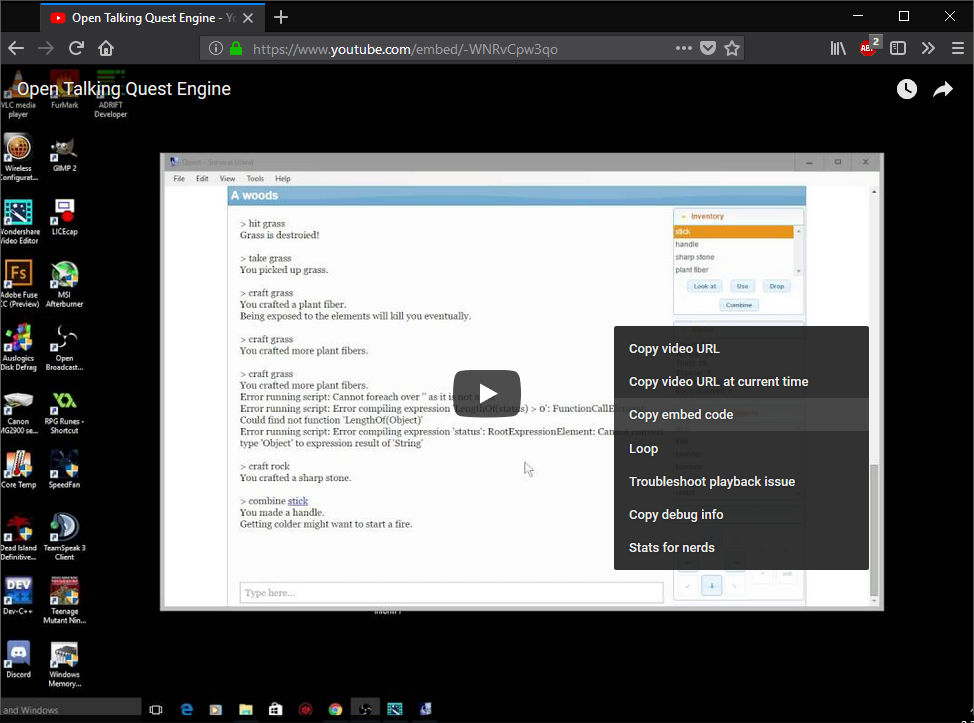
How do we find the correct text to enter for a new source? We can simply copy the embed code for our example video from YouTube:

In this example, we would have this:
<iframe width="854" height="480" src="https://www.youtube.com/embed/7vIi0U4rSX4" frameborder="0" allow="autoplay; encrypted-media" allowfullscreen></iframe>
Now, let’s find another video to switch to. A forum member with the web handle “onimike” creates videos concerning Quest, so we’ll choose one of those.

Here is the embed code:
<iframe width="854" height="480" src="https://www.youtube.com/embed/-WNRvCpw3qo" frameborder="0" allow="autoplay; encrypted-media" allowfullscreen></iframe>
After plugging that parameter into our function and see if it works. It appears that our code would be:
ChangeVideoSrc("my-video", "https://www.youtube.com/embed/-WNRvCpw3qo")
But, with the code like this, the new video loads but does not play! There are two functions in Quest which deal with the Play YouTube video script:
The Quest Function:
ShowYouTubeVideo
Takes one parameter: id
The script simply calls a JS function:
JS.AddYouTube (id)
The JS function:
 function AddYouTube(id) {
    var url = "https://www.youtube.com/embed/" + id + "?autoplay=1&rel=0";
    var embedHTML = "<iframe width=\"425\" height=\"344\" src=\"" + url + "\" frameborder=\"0\" allowfullscreen></iframe>";
    addText(embedHTML);
 }
We can see that Quest sets the height of every video to 425 and the width to 344. This is the best part of the script. If were we to simply copy YouTube’s embed code into a msg, almost everything would work, but one problem we’d have would be that the video would be too wide in this case.
Another important thing the script adds is the bit of text which makes the video play automatically: “?autoplay=1&rel=0”. This is what we need to add to end of the src in our new function!
Here’s the new code:
ChangeVideoSrc("my-video", "https://www.youtube.com/embed/-WNRvCpw3qo?autoplay=1&rel=0")
Using HTML Video Elements
Playing your own videos (or online videos) requires a bit of coding, but it can be done. Using an HTML video tag is the easiest way to handle this, and it will allow you to use whatever file format you like.
The most basic example of a video tag:
<video src='YOUR_URL_GOES_HERE' autoplay />
For more information, see here.
When using a local video file in Quest, we need to use GetFileURL() to retrieve our local file’s URL.
This will find the correct path to the file, whether we are using the desktop player or the web player.
src = GetFileURL("spinning_compass.ogv")
msg("<video src='"+src+"' autoplay width='90%' />")
NOTES:
I set the width to 90% for this video, but you will need to adjust the width according to each video’s size!
The file “spinning_compass.ogv” is in my game’s main folder. I also had to add “;*.ogv” to the end of the string attribute game.publishfileextensions so Quest would include the file when publishing the game. Otherwise, it would not work because the file would not be present. For more on the file extensions included in your game, see A Note on The Publish Process.
To simulate the “Wait for sound to finish before continuing” option when adding videos to a game via HTML video elements, follow the link at the end of this document.
We can also use an HTML video tag to play video from an external site, which will help keep the game under the site’s maximum upload size. Everything works the same way, we just use the actual URL instead of GetFileURL().
Here’s an example with an actual URL:
src = "http://media.textadventures.co.uk/games/SQBeLzc7F0mHVspXyUfbbg/spinning_compass.mp4"
msg ("<video src='" + src + "' autoplay>")
For more on the maximum upload size, see the last section on this page.
Adding Controls
We can add controls to the tag, giving the player an option to play or pause the video at will.
src = GetFileURL("spinning_compass.ogv")
msg ("<video src='" + src + "' autoplay controls />")
NOTE:
If we were to add the controls option, we could remove autoplay, making it so the player would have to press ‘Play’.
Looping HTML Video
You can also add a loop option, if you wish. (Guess what this does!)
src = GetFileURL("spinning_compass.ogv")
msg ("<video src='" + src + "' autoplay loop />")
If you choose to loop your video, you will probably need a way to stop it. Like everything else, there are numerous ways to handle this.
Controlling HTML Video with JS (Stopping, Pausing, and Playing)
The easiest way to stop a video would be removing ALL video tags from the game. This can be handled using Javascript via JS.eval() (NOTE: This will completely remove any HTML audio tags you have added to the game!).
JS.eval("$('video').remove();")
Using an ID to Control a Specific Video Element
An alternate approach would be assigning an ID to the audio element. This can be done like so:
src = GetFileURL("spinning_compass.ogv")
msg ("<video id='html-video' src='" + src + "' autoplay loop />")
Once we have assigned an ID, we can actually pause the video like this:
JS.eval("document.getElementById('html-video').pause();")
After pausing, we could resume like this:
JS.eval("document.getElementById('html-video').play();")
We could also remove just that video element:
JS.eval("$('#html-video').remove();")
Browser Compatibility
Another thing to worry about is browser compatibility.
Some older browsers might not play the .ogv format, and others might not play .mp4. The desktop version of Quest will not play an .mp4 from an HTML video element (as of version 5.7.2), but it will play an .ogv. On the other hand, most modern browsers will play .ogv files, but Internet Explorer and Edge will not (I think Safari will play certain types of .ogv files, if you have the proper plugin, but I’m not certain).
For more information concerning this, see here.
As a “workaround”, we can include both formats.
s = "<video autoplay>"
s = s + "<source src='" + GetFileURL("spinning_compass.ogv") + "' type='video/ogg' >"
s = s + "<source src='" + GetFileURL("spinning_compass.mp4") + "' type='video/mp4' >"
s = s + "Your browser does not support the audio tag.</video>"
msg (s)
IMPORTANT NOTE: The video will cease to exist if the screen is cleared when using HTML tags.
Playing Multiple Videos at Once
Sometimes, you may want to play two (or more) videos at once, and this is possible (although it would probably be extremely distracting). To do this, just keep adding videos with the Play YouTube video script or with the functions listed on this page.
Additional Audio and Video Functions
There is a user-submitted guide which provides step-by-step instructions for any online (or offline) users who would like to add a few audio and video functions to a game (desktop users may prefer to download the library, which can be downloaded from the same page).

